
Loading...
Resize any image to exact pixel dimensions or scale it by a percentage of the original for free. No signup, no download, no watermarks. Works instantly in your browser on Mac, Windows, iPhone and Android.
Type in a target width and height in pixels with the aspect ratio lock on to keep proportions, or switch to percentage mode to scale by 50%, 200%, or any factor you choose. Upload JPG, PNG, WebP or HEIC and download the resized result as JPG or PNG.
Ideal for resizing photos for websites, email attachments, social media profiles, and print. No installation required.
Resize any image for web, social media or print. Set exact pixel dimensions with aspect ratio lock, or scale by percentage for free.
Three steps. No software or account required.
Drop any JPG, PNG, WebP or HEIC file onto the free online image resizer. Files up to 25 MB are accepted and stay in your browser.
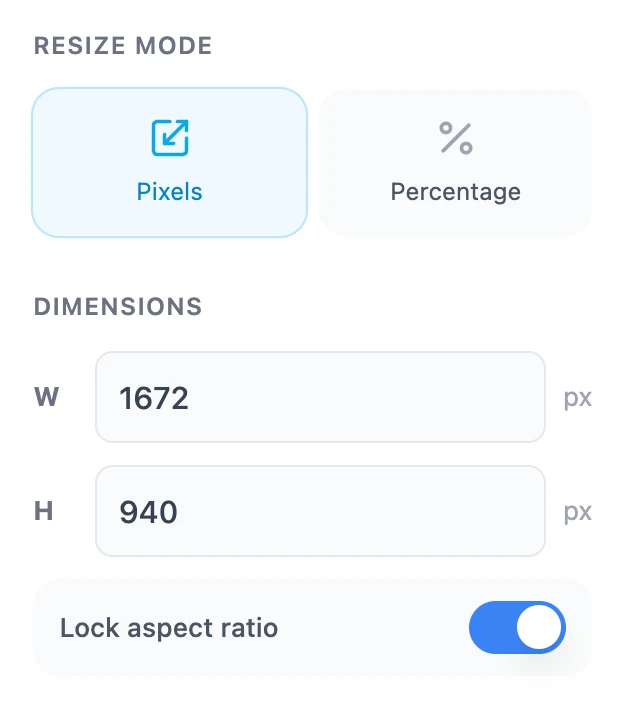
Set exact pixel dimensions with the aspect ratio lock, or switch to Percentage mode to scale your photo up or down in one step.
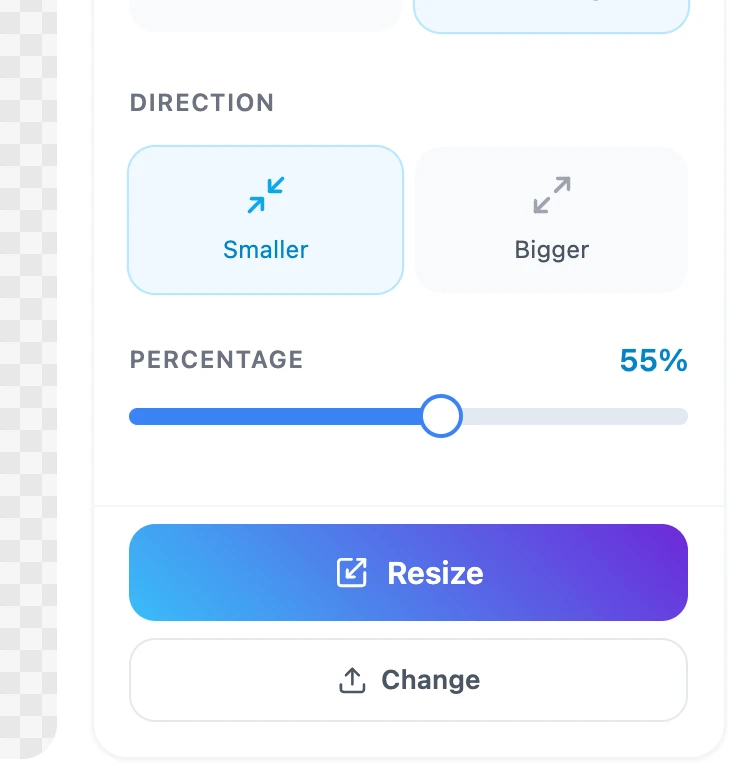
Click Resize then download your photo at the new dimensions. Export as JPG, PNG or WebP with no watermark and no quality loss.
From product photos to print files
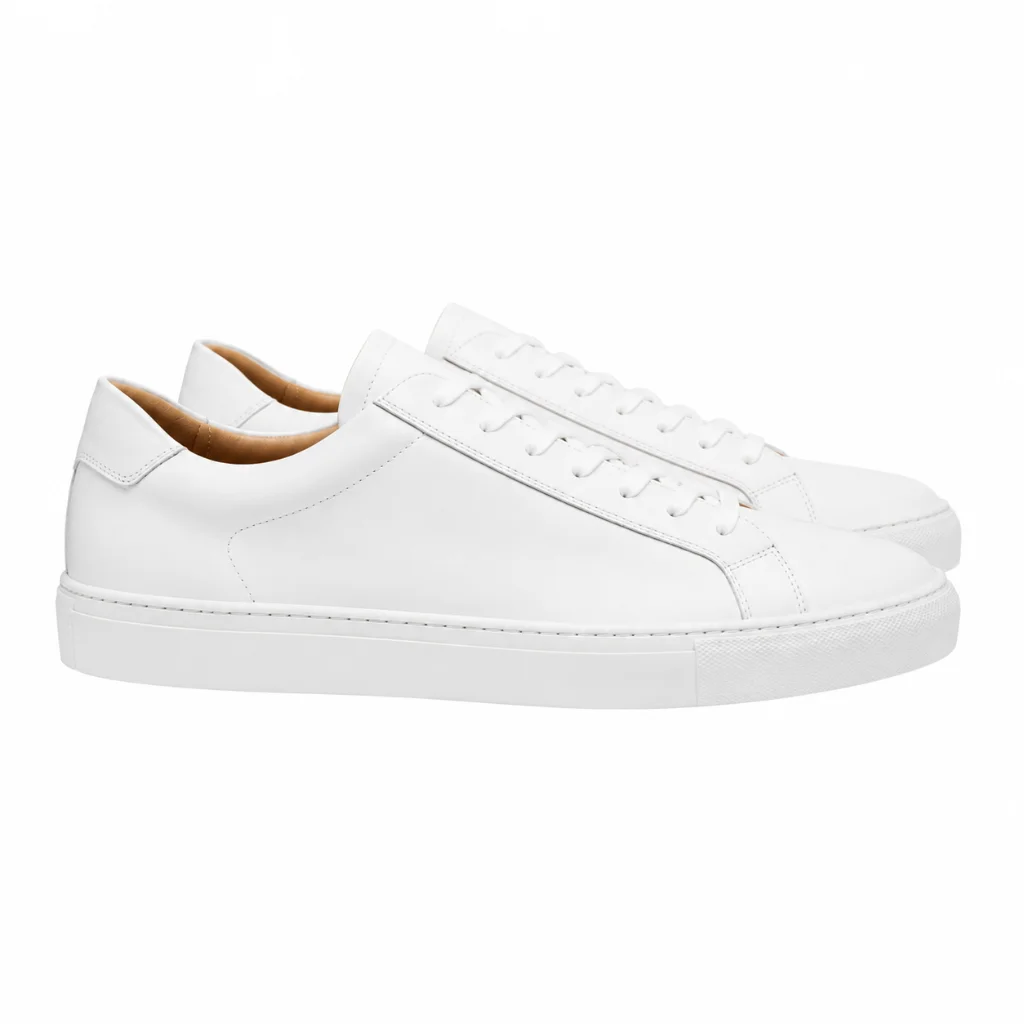 Before
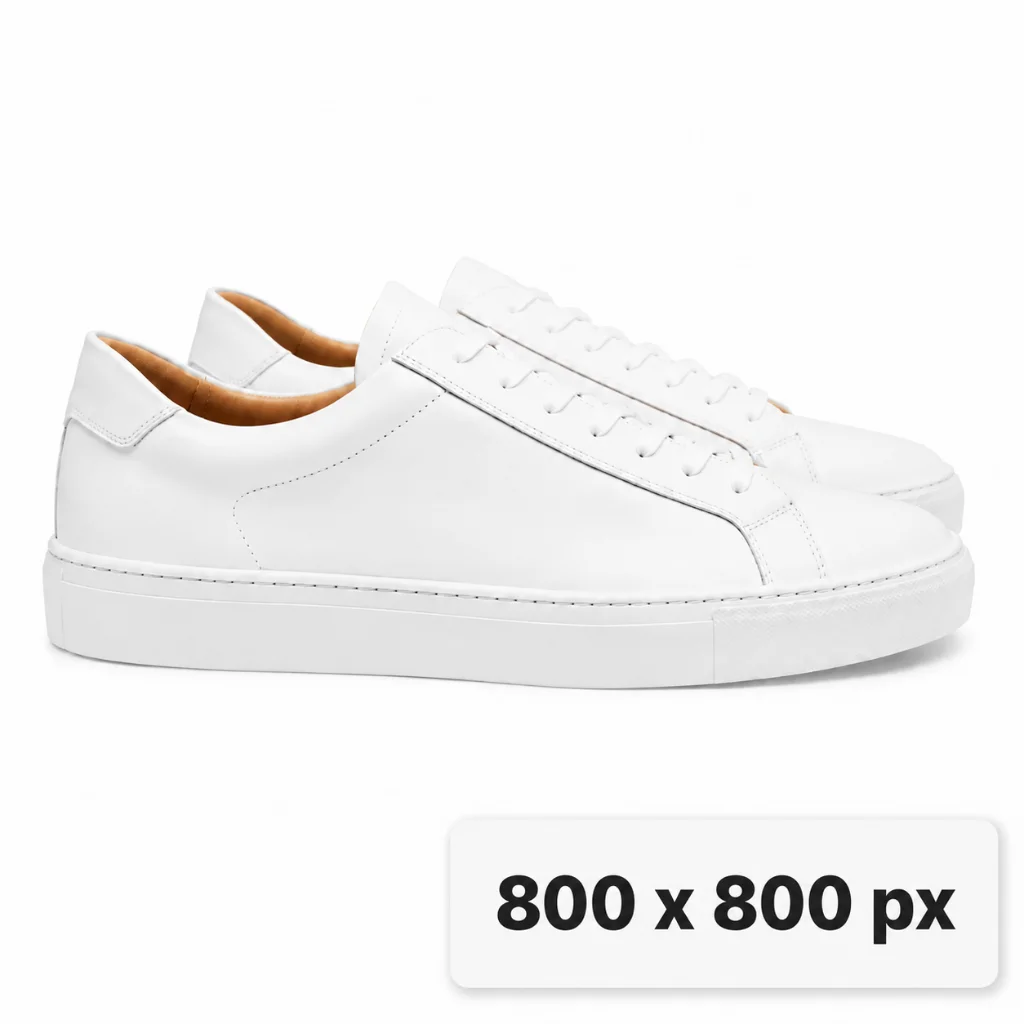 After
AfterSet the exact pixel dimensions required by your online store. Enter 800×800 for Amazon or 1000×1000 for Shopify with the aspect ratio lock on so nothing gets cropped.
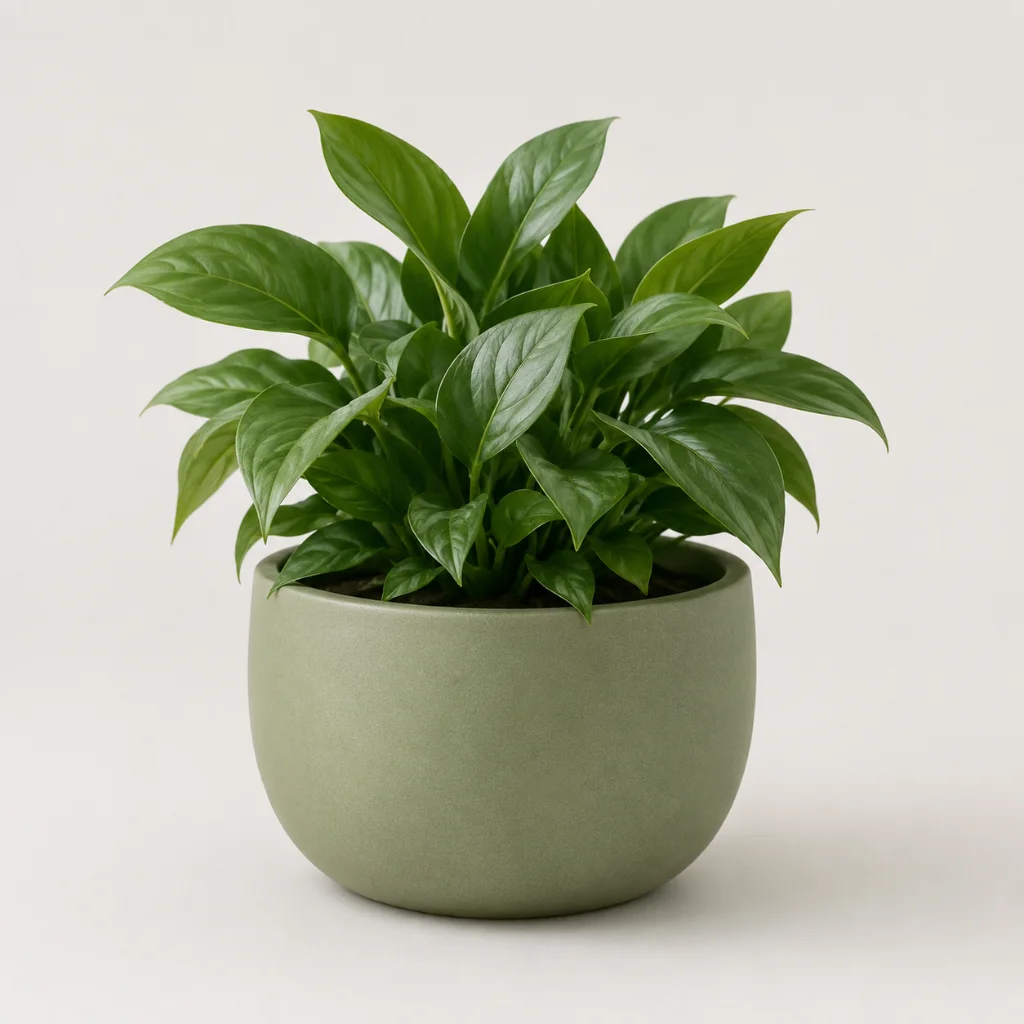 Before
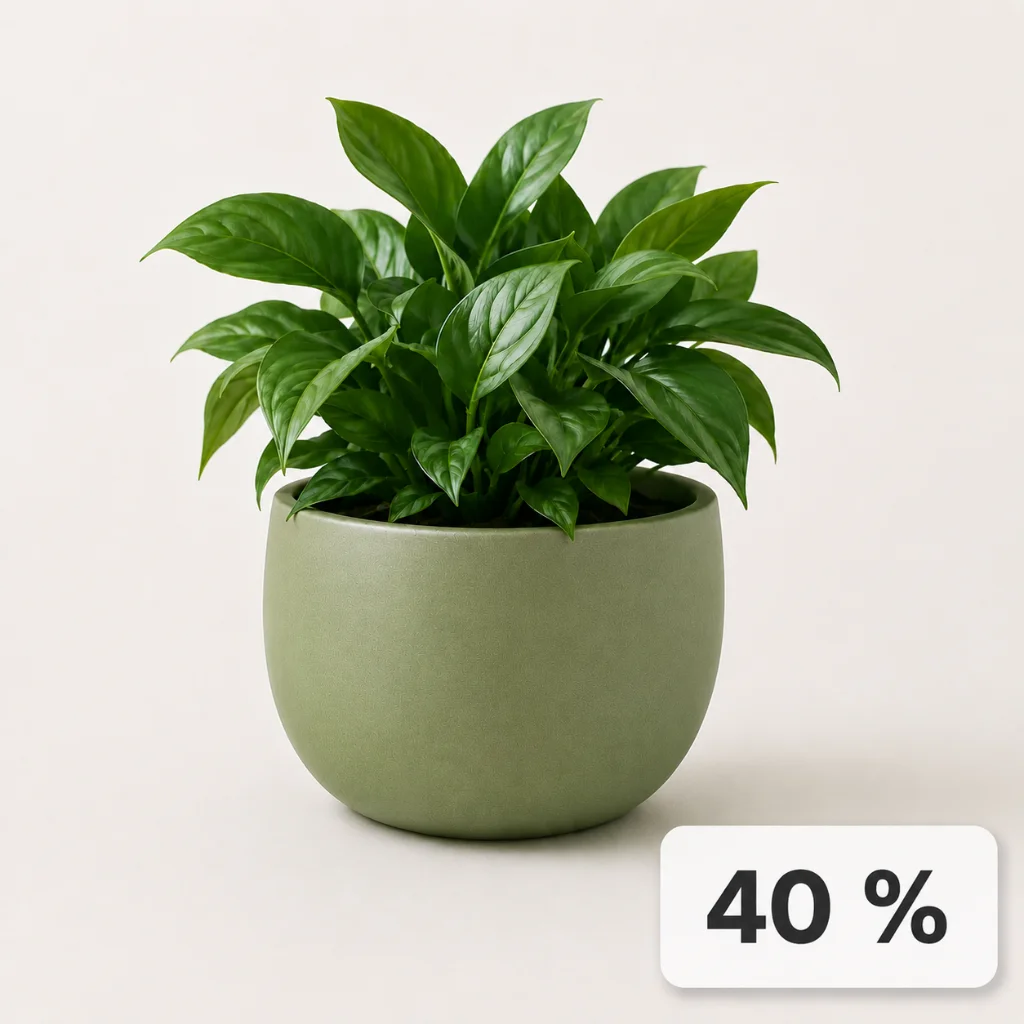 After
AfterSwitch to Percentage mode and drag the slider to shrink a large photo for web or email. File size drops right away so pages load faster and attachments send in seconds.
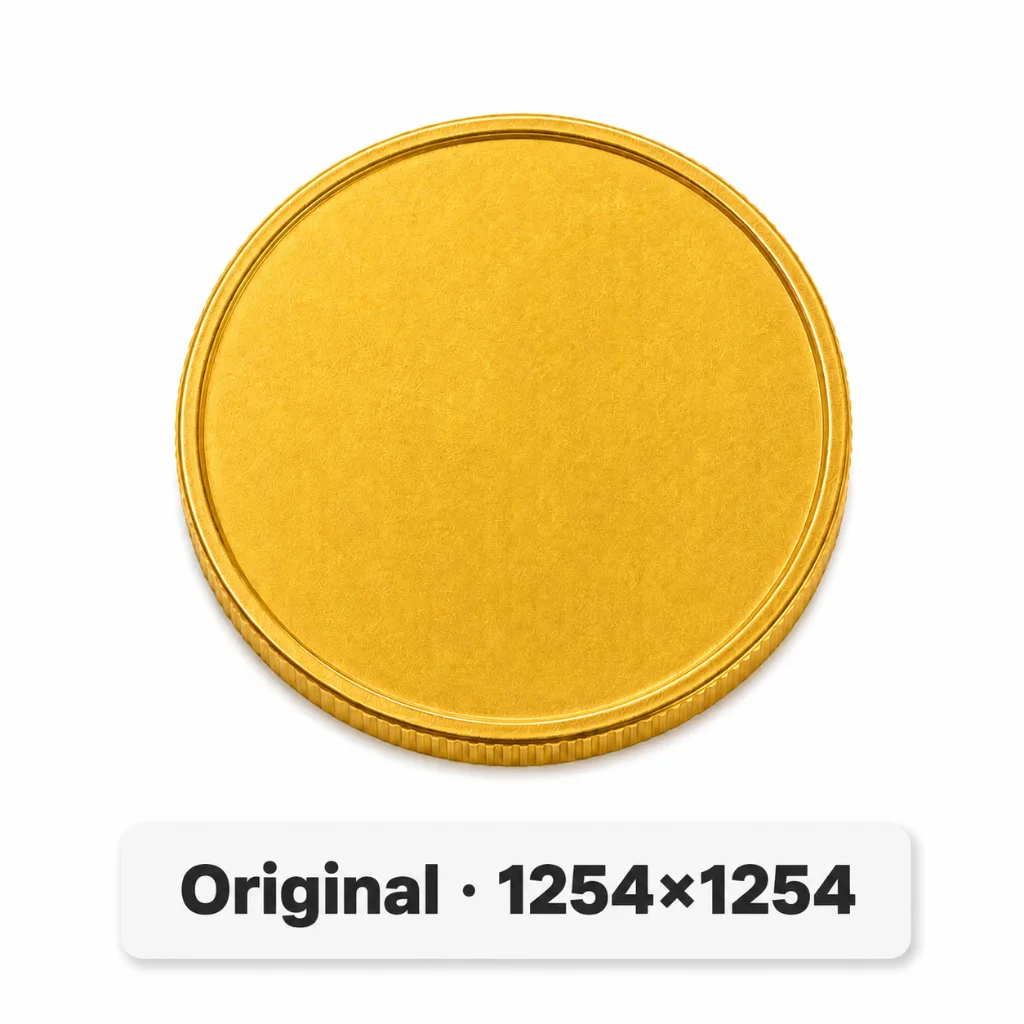 Before
 After
AfterSelect Bigger in Percentage mode then set an exact width to upscale a small product photo for print or large format display. The result is as sharp as the original file allows.
Getting the right image dimensions is a daily task across web, print and social media. Here is where resizing matters most.
Oversized images are one of the biggest causes of slow page load times. Resize photos to the exact pixel dimensions your layout requires before uploading to a CMS or static site. Smaller files mean faster pages, better Core Web Vitals scores, and improved SEO rankings without any loss of visual quality at the intended display size.
Every platform has its own image size requirements. Profile pictures, cover photos, story frames and post images all need specific dimensions to display correctly without being cropped or stretched. Resize photos to the exact size each platform expects, whether that is a square for Instagram, a landscape banner for LinkedIn, or a portrait for Pinterest.
Preparing images for clients, print labs, or stock photography sites requires matching exact resolution and dimension specifications. Resize photos for 4x6, A4, or custom print sizes, hit the pixel requirements for submission portals, or scale down high-resolution shots to shareable web versions while retaining a clean, professional result.
Quick answers about how this tool works and how to get the best results.
Yes. Switch to pixel mode and type in the exact width and height you need. The aspect ratio lock is on by default. Change one dimension and the other updates automatically to keep your photo proportional. Toggle it off if you need to set width and height independently, for example when fitting an image into a fixed container with a different shape.
Switch the mode to percentage and enter a value. Setting 50% halves both width and height; 200% doubles them. Percentage mode is useful when you want to scale an image down by a consistent factor without having to calculate the exact output dimensions. For example, reducing a photo to 50% of its original size for faster web loading.
Scaling an image to smaller dimensions is lossless in the sense that you are simply reducing resolution. The visual quality of the remaining pixels is preserved. Scaling up beyond the original size will soften the image because pixels are being interpolated. For best results when enlarging, keep the upscale factor small (under 150%) to avoid noticeable blurring.
You can upload JPG, PNG, WebP and HEIC files. The resized result exports as JPG or PNG. JPG is the smaller option and ideal for photos. PNG is better if your image has a transparent background or contains text and sharp edges that you want to keep crisp.