
TL;DR. Your existing phone selfie probably has the makings of a strong professional headshot. The thing holding it back is usually the background. This guide shows how to swap the background using free AI, the 5 backgrounds that work for any industry, and the mistakes that make an edited headshot look amateur.
Why backgrounds matter for headshots
On LinkedIn, recruiters spend an average of seven seconds on each profile before deciding to read further or scroll on. The first thing they see is the profile photo, and the first thing they evaluate about that photo is not your face. It is the background.
A face in front of a cluttered cafe wall reads as “casual, probably not actively job hunting.” The same face in front of a clean neutral background reads as “has thought about their professional image, takes the platform seriously.” Same person. Same expression. Different inference.
The good news: getting a clean professional background no longer requires a photographer or a studio. AI background removal lets you take any decent front-facing photo of yourself and place it on a background that signals professionalism, whatever industry you are in.
The strategy: don't reshoot, replace
The conventional advice for a better LinkedIn photo is to book a professional shoot. That takes time, costs money, and the result is locked to whatever background the photographer chose on the day. Most people put it off forever.
There is a faster path. Take any front-facing photo you already like (a recent travel shot, a selfie from a coffee shop, a candid from a friend's party) and treat it as a source. The only requirements are good lighting on your face, a clear expression, and your shoulders visible.
From there, the workflow is:
- Remove the original background with AI
- Drop yourself onto a chosen professional background
- Resize for each platform (LinkedIn, resume, About page)
The technical work happens. The only real variable is how long you spend choosing the right background. The rest of this article focuses on that choice and the mistakes that betray an edited photo.
5 backgrounds that work for any industry
Background choice signals different things to different audiences. Here are five reliable options, each starting from the same clean transparent cutout the AI Background Remover produces from your original photo.
Solid neutral (the safest default)
A solid mid-gray, off-white, or muted beige is the standard choice for corporate, legal, consulting and finance roles. It photographs the same way studio portraits have looked for fifty years, which is why it reads as “professional” without thinking. Avoid pure white (looks like a passport photo) and pure black (reads as dramatic, not corporate).

Soft gradient
A subtle gradient (light to slightly darker, or warm to cool) is the modern equivalent of a studio backdrop. It feels intentional without being distracting. Cool gradients (gray to soft blue) work well for tech, finance and B2B SaaS. Warm gradients (beige to soft peach) suit hospitality, wellness, creative agencies and client-facing services.

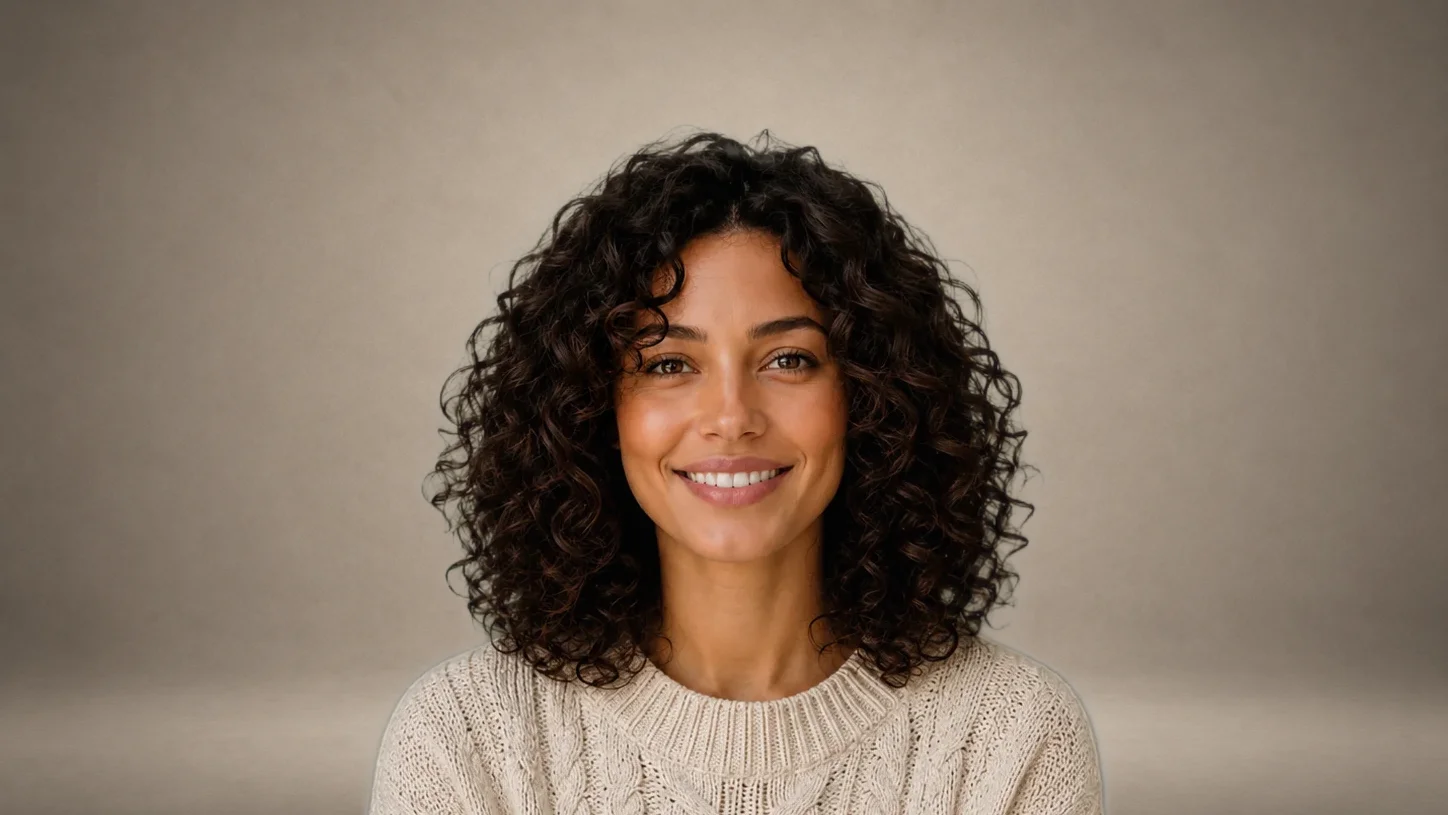
Studio backdrop look
A textured medium-gray or beige with subtle vignetting mimics the look of a professional studio. This is the safest choice if you need one headshot to work across LinkedIn, a speaker bio, a press kit, and a company About page. It signals quality without committing to any specific industry aesthetic.
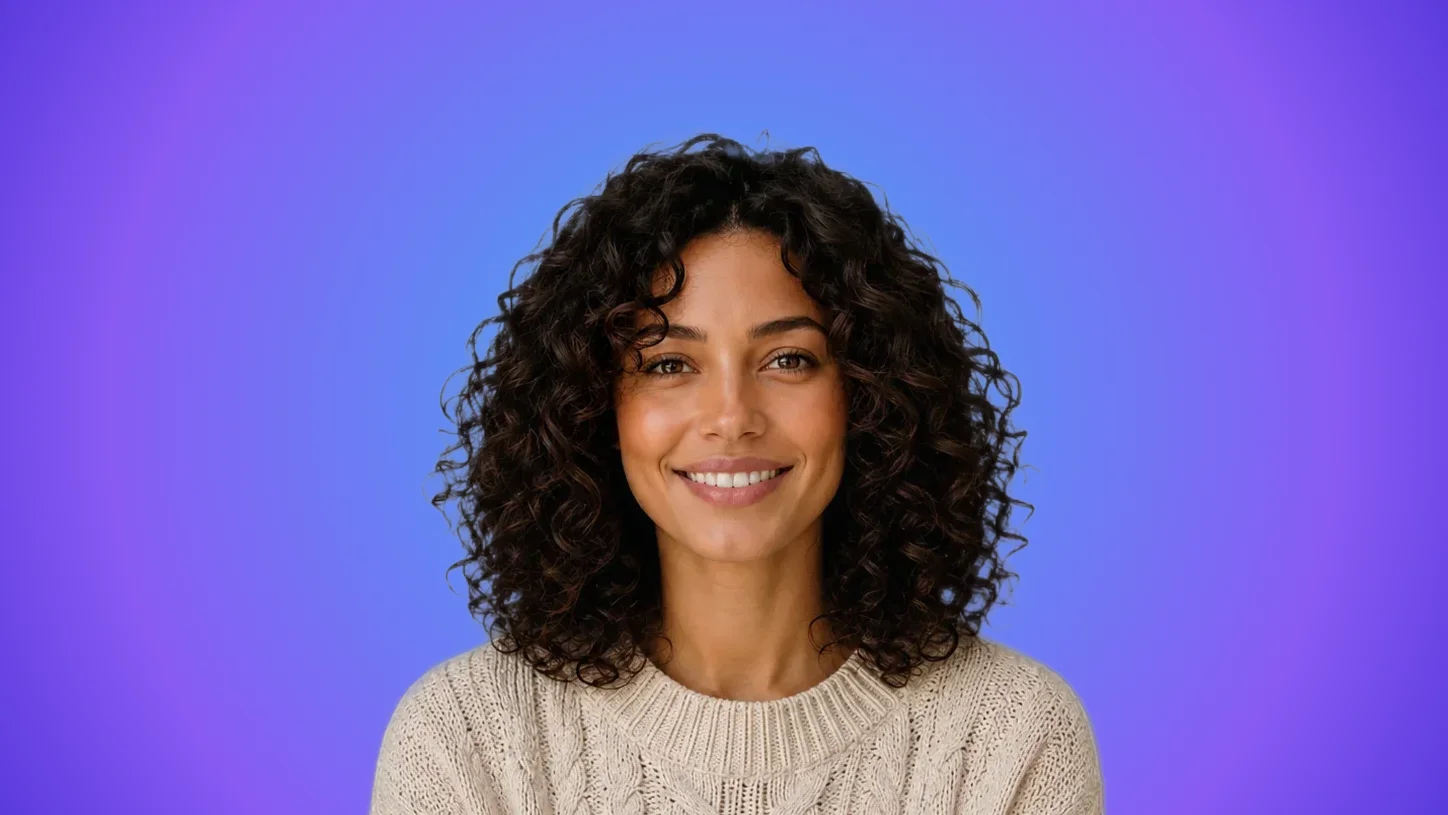
Brand color
If you have a personal brand (newsletter, podcast, YouTube channel, consulting practice) use a background that matches your primary brand color. The headshot then anchors your visual identity across platforms. Keep the color slightly desaturated so your face stays the focus.
Office context
For executive roles or corporate communications photos, an office or boardroom context can work. The caveat: the background should match a place you plausibly work. A stock photo of a Manhattan skyline behind a small-town consultant reads as fake. If you choose this path, use either your actual office (re-shoot with better lighting) or a generic out-of-focus office interior with no recognizable landmarks.

LinkedIn-specific advice
LinkedIn displays profile photos as small circular thumbnails throughout the interface, in feeds, search results, message previews and connection suggestions. Your headshot has to read clearly at thumbnail size, not just at the larger profile page size where it first appears in your editor.
Three practical implications. First, crop tightly. A head-and-shoulders composition stays recognizable when small; a full head-to-waist composition turns into an unidentifiable blob. Second, the background should have enough contrast with your hair and clothing that you stay visible at small sizes. A blonde person on an off-white background disappears in thumbnails; the same person on a soft cool gradient stays distinct. Third, export at whatever size LinkedIn currently recommends for profile photos. The exact dimension has shifted over the years and may shift again. Check LinkedIn's help center for the current spec before final export, then use the PictTools Image Resizer to match it. Giving the platform exactly what it expects preserves the quality you intended.
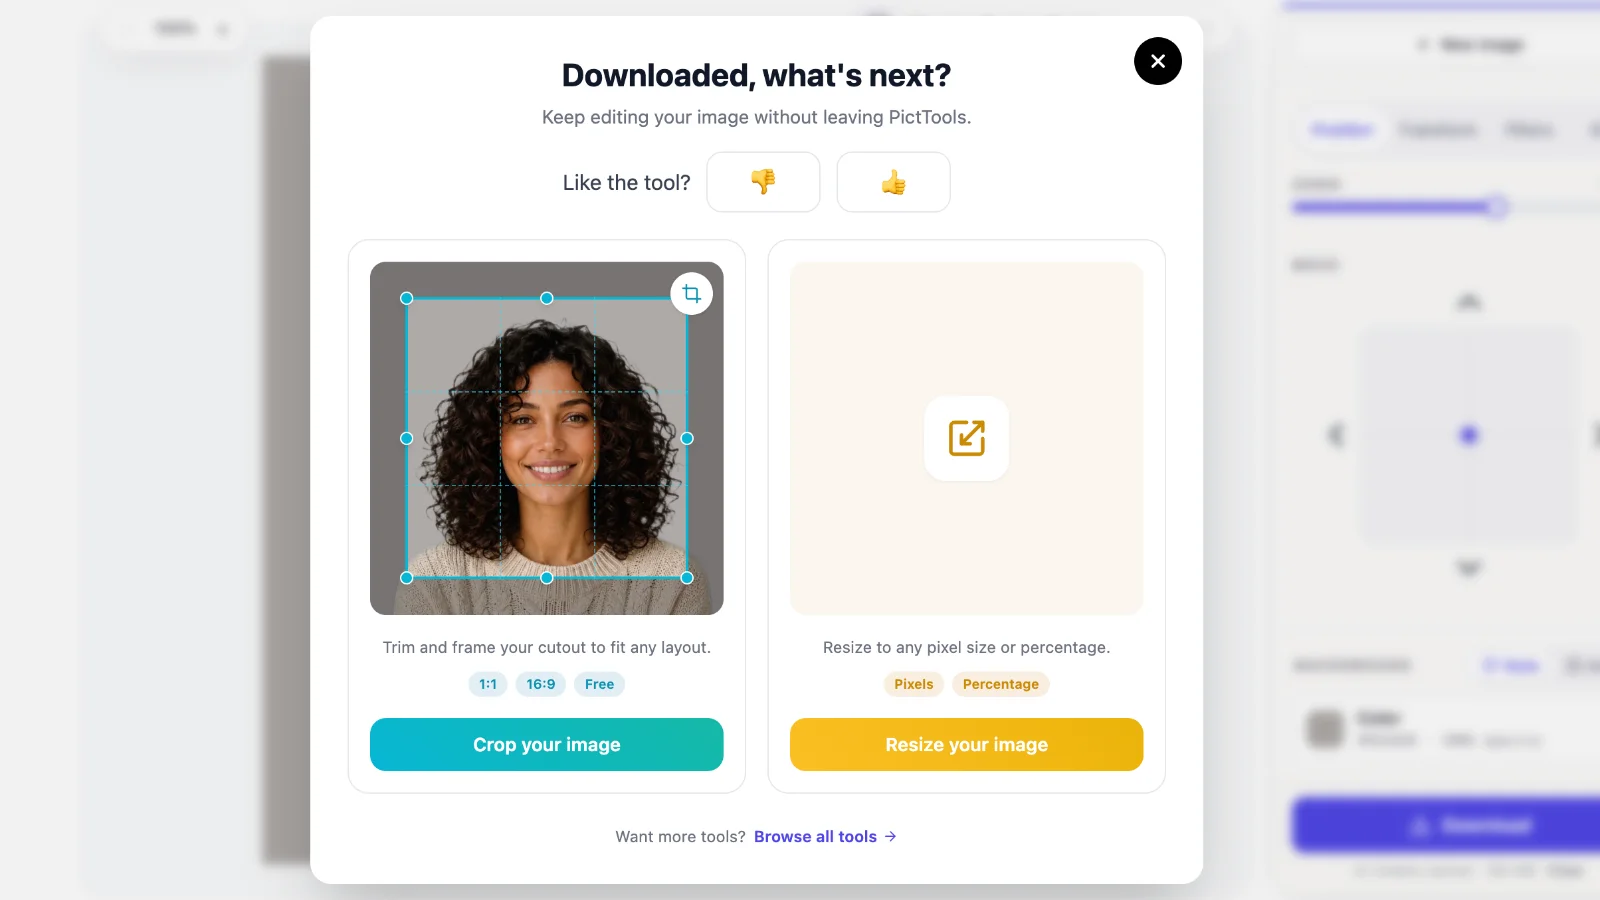
You can also handle the resize without leaving the AI Background Remover itself. Right after you download the cutout, the tool offers crop and resize follow-ups, so you can adapt the file to the exact dimensions LinkedIn (or any other destination) expects before you upload it anywhere.
Resume and CV photos
Whether to include a photo on your resume depends on where you are applying. Resumes in the United States typically should not include photos (anti-discrimination practice means recruiters actively avoid them). Resumes in most of Europe, Latin America and Asia routinely include photos, and excluding one is sometimes treated as suspicious.
If you are including one, the rules are tighter than for LinkedIn. The photo lives at the top of a single-page document next to dense text. It needs to be small relative to the page, tightly cropped to head and shoulders, and on a background that does not compete with the text. Solid neutral and soft gradient are the only safe choices. Branded colors, office contexts and dramatic backdrops all distract from the document. To tighten the crop to that head-and-shoulders frame, use the PictTools Image Cropper. It includes preset aspect ratios so you do not have to eyeball the dimensions.
Some industries also have specific conventions. Banking, law and academia favor the most formal end of the spectrum. Creative and tech roles allow more personality but still benefit from restraint on the resume itself.
How the AI does it
This article focuses on the strategy, not the mechanics. The actual process is straightforward: open the AI Background Remover, drop in your photo, the AI detects you and separates you from the background, you clean up any rough edges around hair with the Refine brush, then you download a transparent PNG. From there, you composite the transparent PNG onto your chosen background in any design tool or by re-uploading to the tool with a different background.
For a full step-by-step walkthrough of the AI Background Remover with screenshots of every stage, see our companion article: How to Remove Background from Product Photos for Free. The procedure is identical for portraits; only the subject changes.
Mistakes that look unprofessional
A clean cutout on a chosen background is most of the work, but a few small details separate “polished professional” from “obviously edited.”
Lighting mismatch. If your face is lit warm and the new background is cool blue, the composite looks pasted. Pick a background tone that roughly matches the color temperature of the light on your face.
Hair halos. The AI sometimes leaves a thin halo of the original background color around fuzzy hair edges. On a new background of a different color, the halo is visible. Use the Refine brush to clean it up; 15 to 30 seconds is enough.
Cropping the chin or top of the head. Some backgrounds compete visually with skin or hair tones, causing the AI to cut into the subject. Always preview the cutout at full size and use the Restore brush to paint back anything missing.
Heavy smoothing or filters. AI-generated portrait filters that smooth skin too aggressively make the photo look synthetic. Recruiters and clients can sense this even when they cannot articulate why. Keep retouching minimal.
Low-resolution source. A 600-pixel source up-scaled to fill a 1200-pixel headshot looks soft and pixelated next to the crisp new background. Always export at or below the source resolution.
Pure white background. Pure white reads as a passport photo, not a LinkedIn photo. Use off-white, light gray or a soft tinted background instead. Even shifting from #FFFFFF to #F5F5F5 makes a noticeable difference.
Frequently asked questions
Once your headshot is ready, you may also want to compress the file for faster LinkedIn upload, or use the Blur tool if you prefer a soft-focus depth-of-field effect behind you. For more guides on the AI Background Remover, visit the tool blog hub.