This guide walks you through removing the background from any product photo using a free AI tool that runs in your browser. You'll get a clean, transparent PNG suitable for Shopify, Etsy, Amazon and Instagram in just a few quick steps. No signup, no install.
Why product photos need transparent backgrounds
If you sell products online, the first thing your customers see is the product photo. Listings with clean, consistent backgrounds outperform busy or inconsistent ones in almost every meaningful way. They look more professional, scan faster on mobile, and let the product itself be the focus, instead of competing with whatever was behind it in the original shot.
Transparent PNGs give you that flexibility. You can drop your product onto any background you want: pure white for a marketplace listing, a soft gradient for an Instagram graphic, or a textured surface for a branded campaign. All from a single source photo.
Until recently, this meant either learning a professional photo editor or paying for a subscription tool. Today, AI can do it for you, free, with no signup. The model identifies your product, separates it from the background pixel by pixel, and gives you a clean cutout ready for any platform.
This article shows you exactly how. We use the free AI Background Remover from PictTools, which runs entirely in your browser, with no install and no account required. The whole process is quick once you have a photo to work with.
What you'll need
- A product photo in JPG, PNG, WebP, HEIC or HEIF format (up to 15 MB)
- A web browser (Chrome, Safari, Firefox or Edge)
- A few spare moments
That's it. There's no account to create, no software to download, and no credit card to hand over. Everything happens in your browser.
Step-by-step: remove the background
The process has five steps. Three of them happen automatically while you watch. The other two are quick clicks.
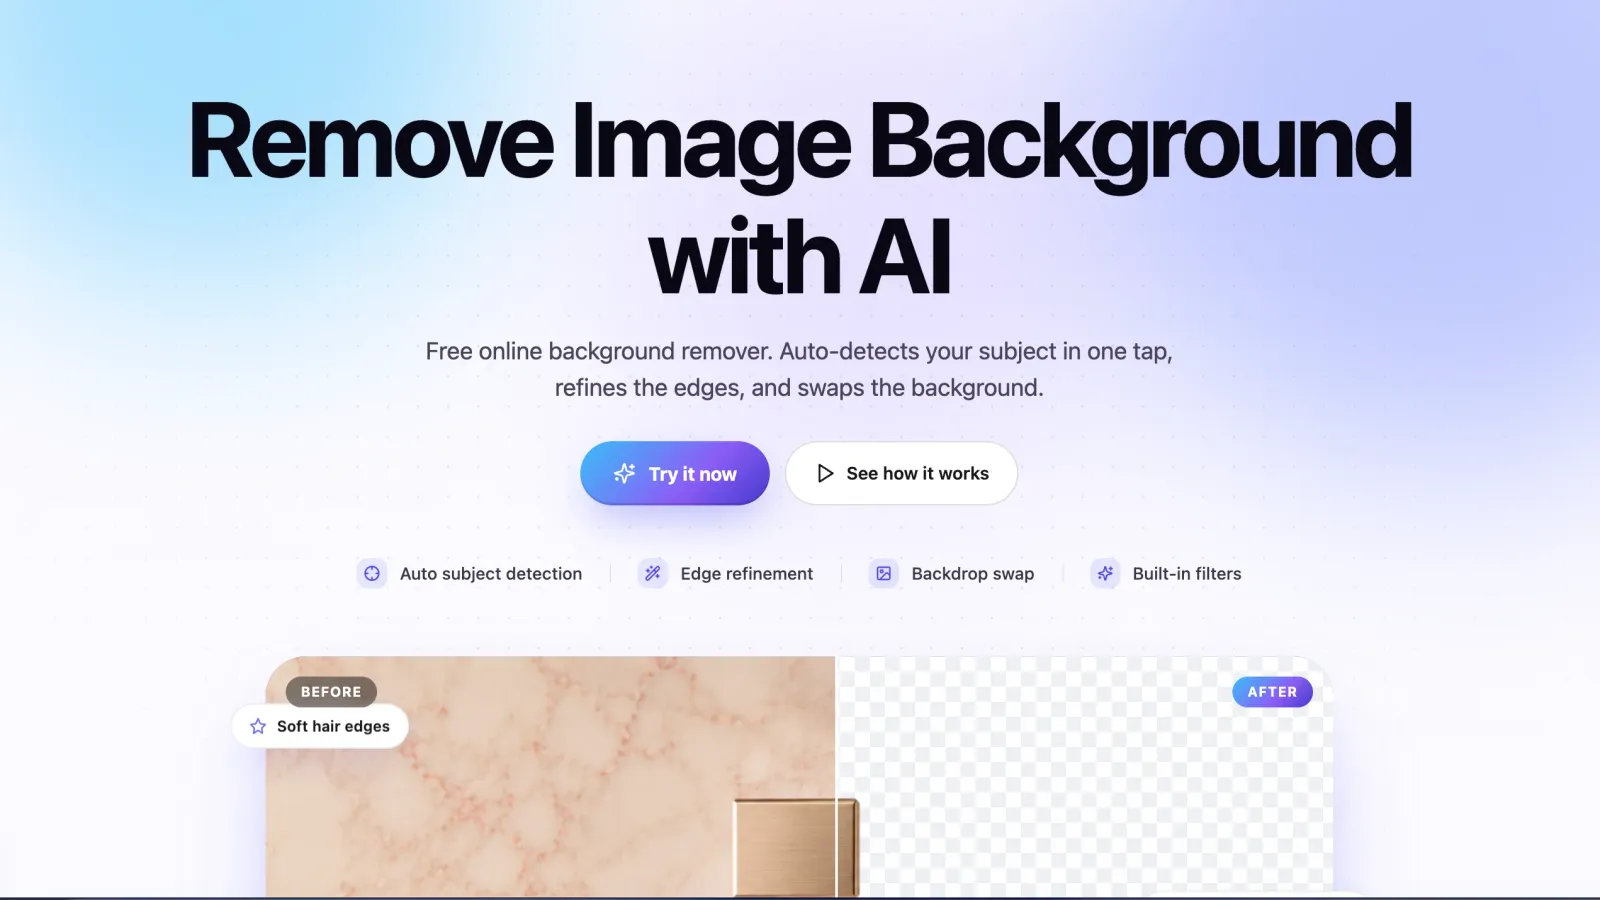
Open the AI Background Remover
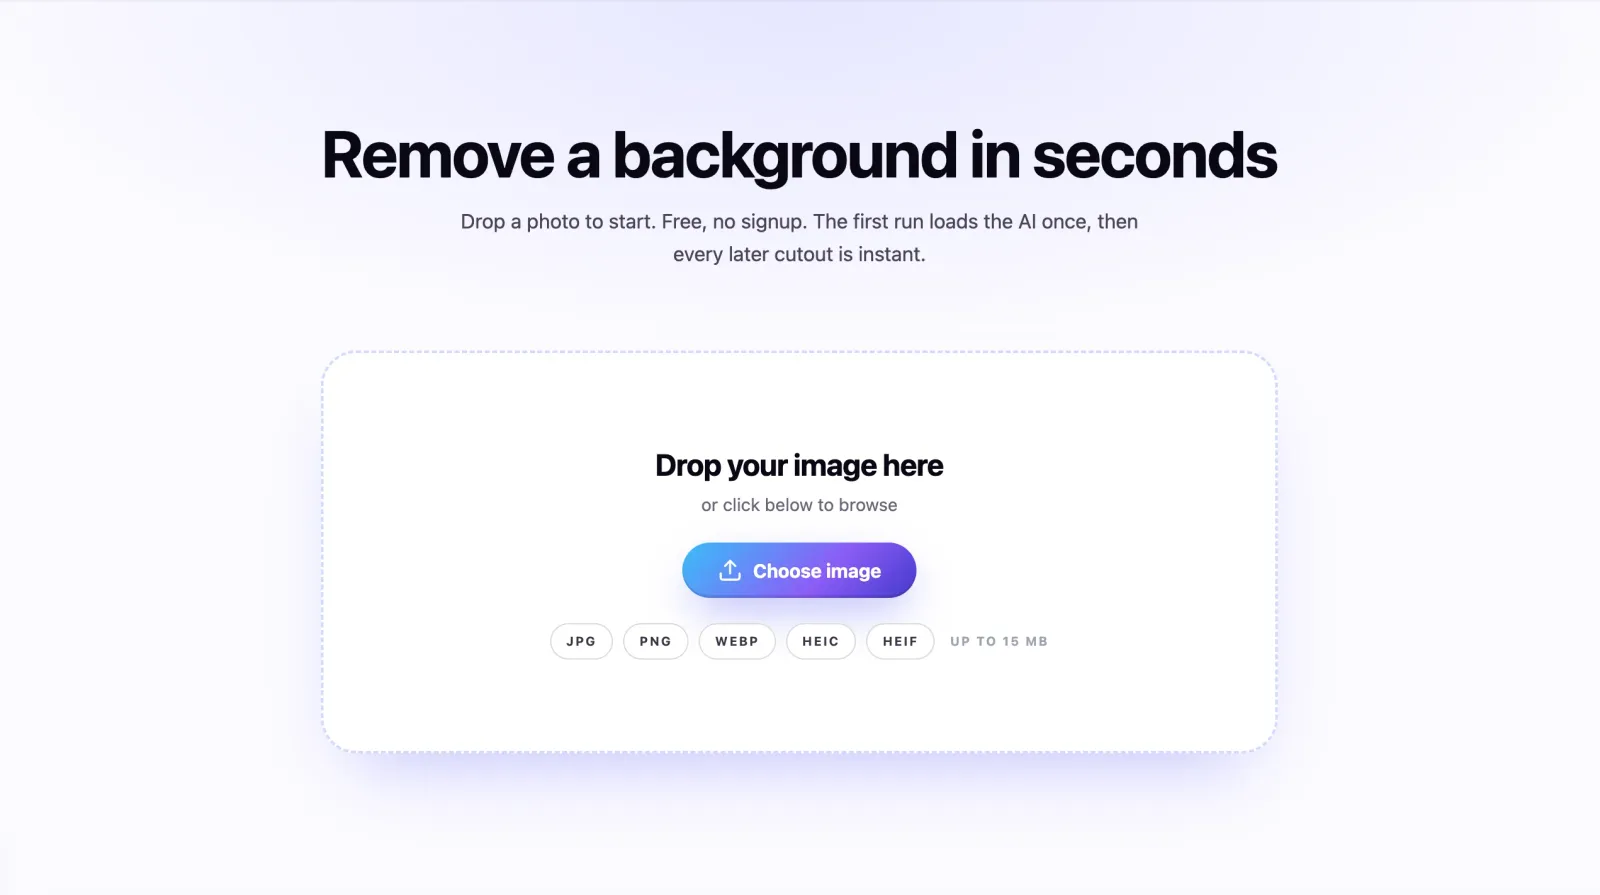
Head to picttools.com/ai/background-remover. The page opens directly into the tool. There is no signup screen, no email gate, and no install prompt. The upload area is right there at the top.
Upload your product photo
You have two options for uploading. Drag your photo directly into the upload area, or click it to open a file browser and select the photo manually.
Supported formats are JPG, PNG, WebP, HEIC and HEIF, and the upload area lists them right under the button along with the 15 MB size limit, so you never have to guess. The photo opens because everything happens in your browser.
A tip from experience: for the cleanest cutouts, start with the highest-resolution version of your photo you have. The AI uses every pixel it can, so a 4000×4000 source produces noticeably sharper edges than a 1000×1000 thumbnail.
Wait for the AI to detect the subject
As soon as the upload finishes, the AI begins analyzing the photo. It identifies the main subject (your product) and separates it from the background. For a typical product shot this takes a few seconds depending on your device.
You don't need to click anything during this step. The AI is fully automatic. Once it's done, you'll see your product on a checkered transparent background, which is the universal visual signal that “the background has been removed.”
The detection works well on a wide range of subjects: clothing, jewelry, electronics, food, candles, prints, accessories, packaging, even complex shapes like wireframe items or transparent containers. If you have a particularly tricky product, the next step covers how to clean it up.
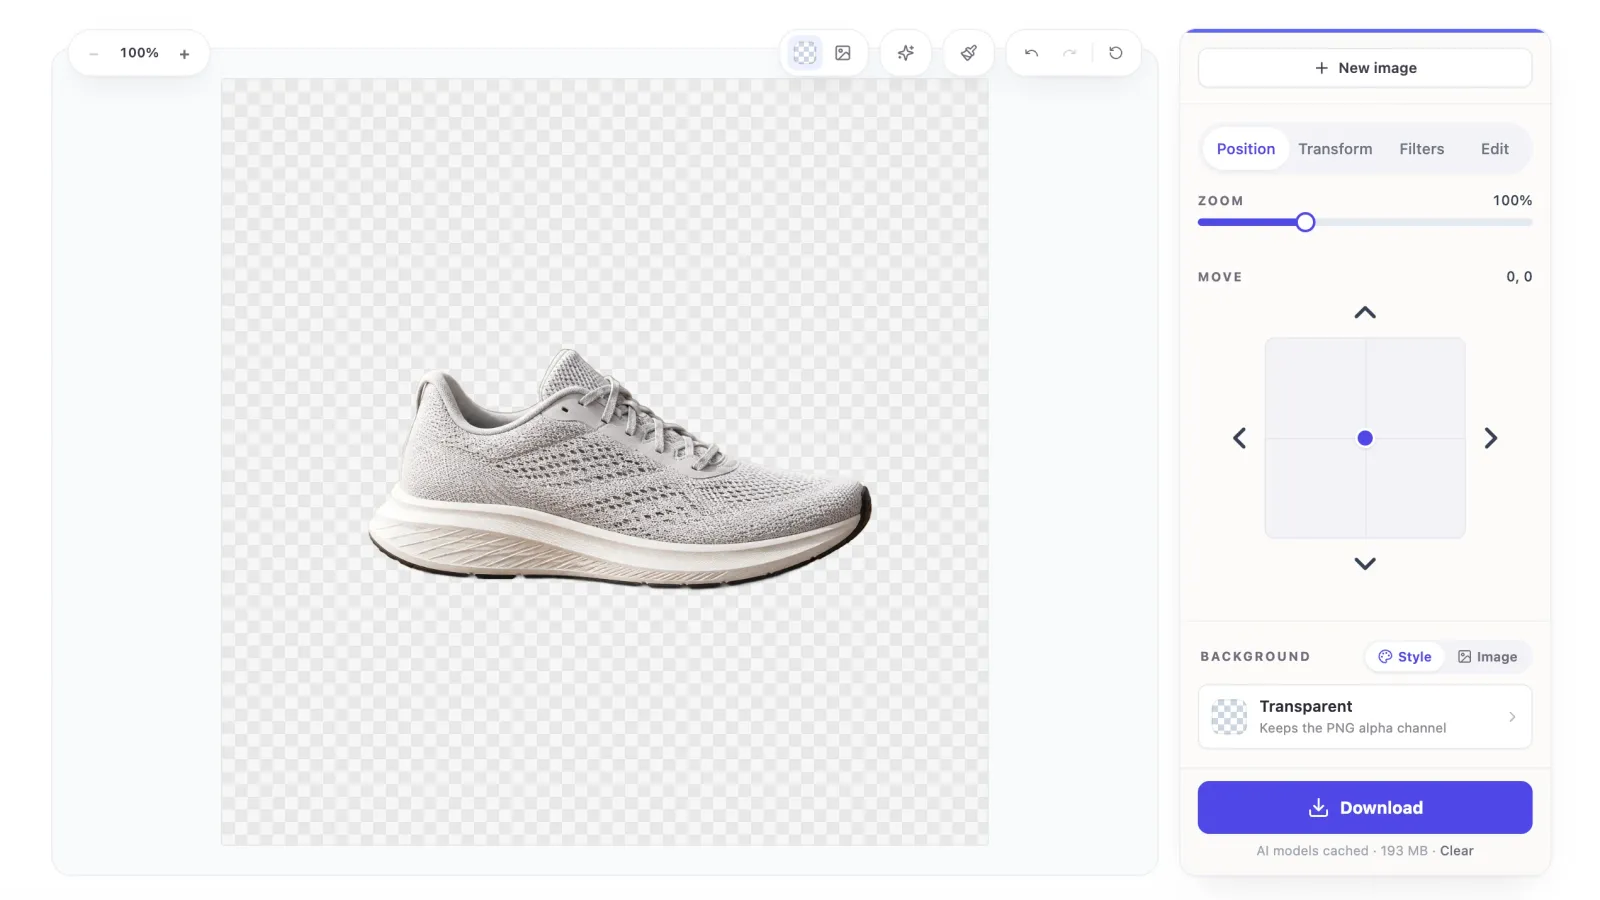
The Quality & Edge panel gives you extra influence over the result. The quality switch offers Fast, a lightweight pass, and Balanced, a more careful pass with sharper edges. The edge style offers Soft, which keeps strand-like edges natural, and Crisp, which cuts clean hard lines. For product photos, Balanced with Crisp edges is usually the right pairing; Soft earns its keep on hair, fur and feathers.
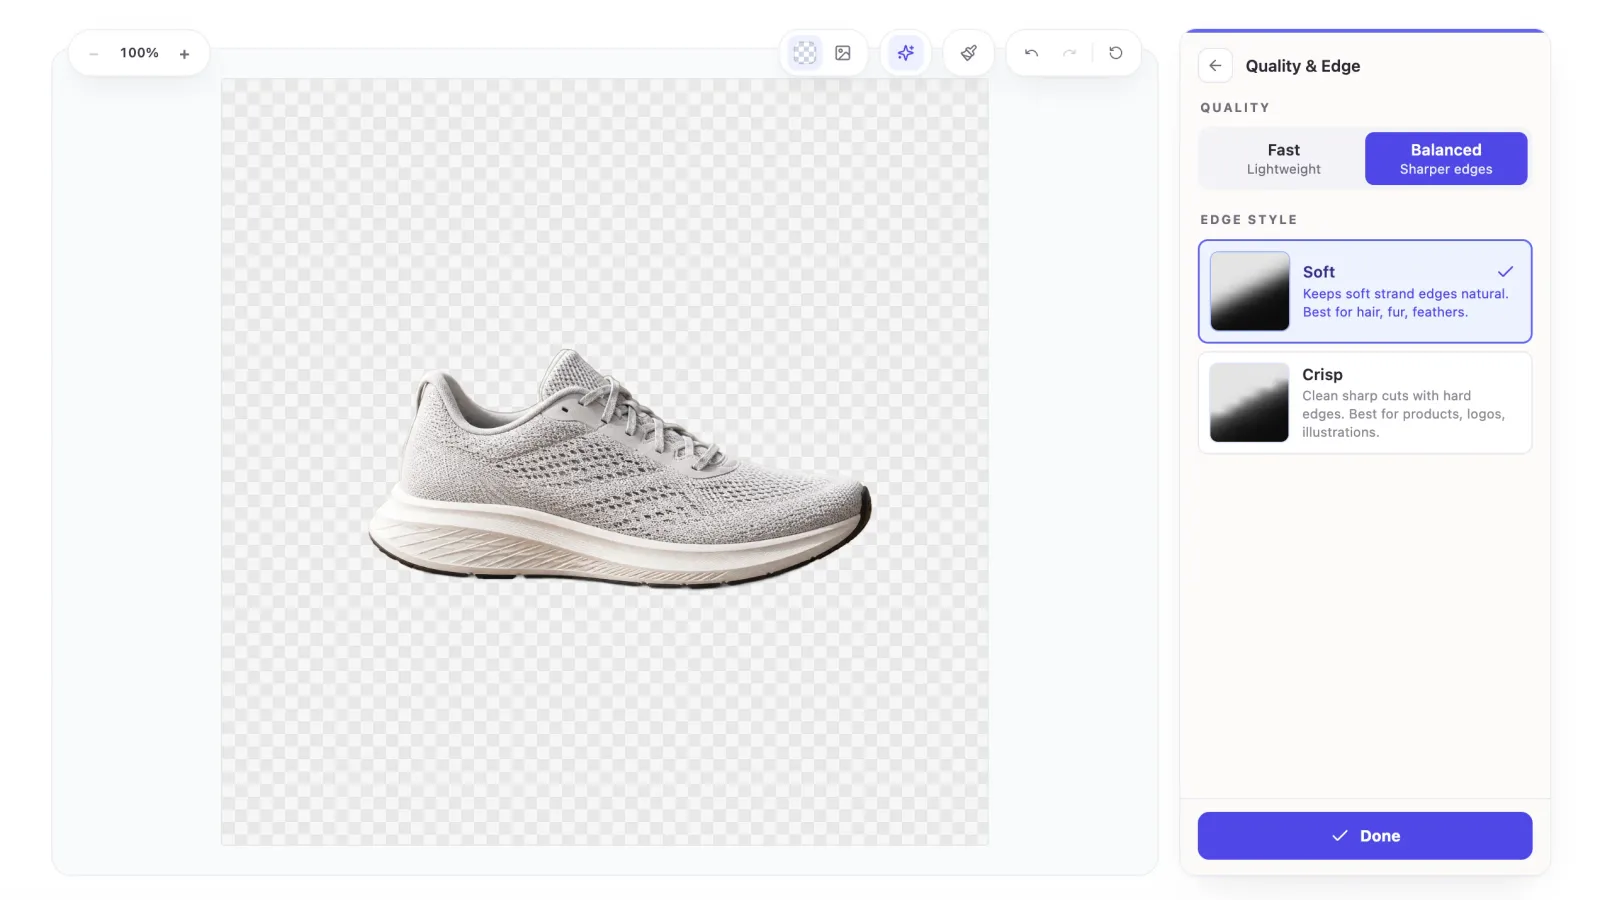
The difference between the two edge styles is easiest to see up close, on the hardest case there is: hair.


Refine edges if needed
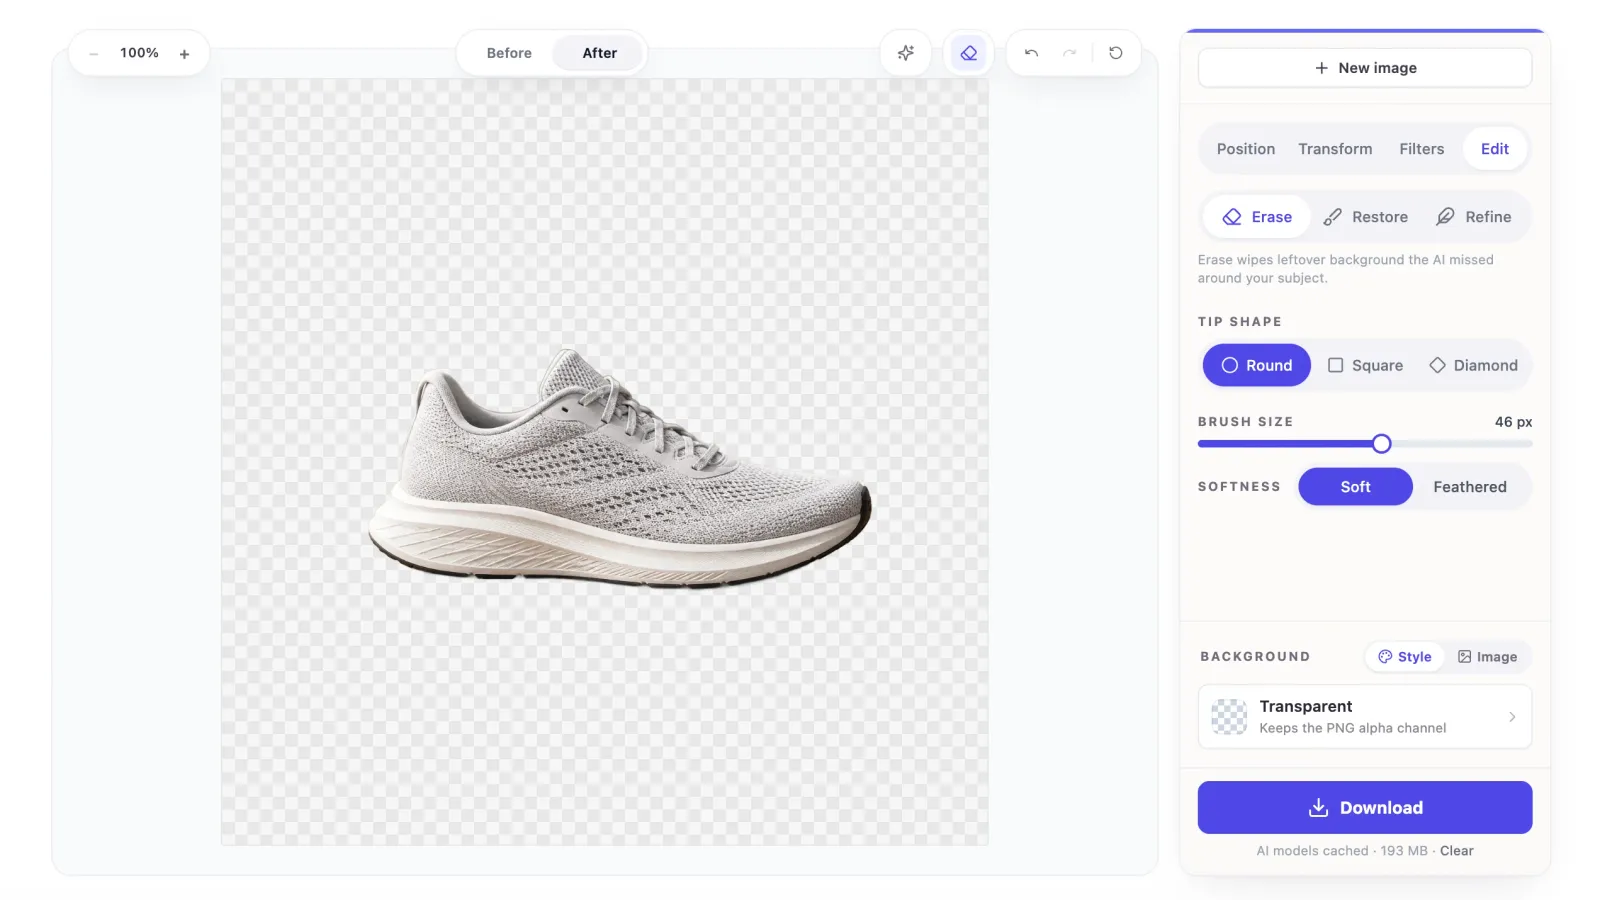
For most product photos the AI gets it right on the first pass. When it doesn't, the Edit panel gives you three brushes. Erase wipes leftover background the AI missed around your subject. Restore paints back parts of the product that were removed by mistake. Refine smooths the boundary itself when an edge needs a lighter touch.
The brushes come with real control: a round, square or diamond tip, an adjustable size, and a soft or feathered stroke. A Before and After toggle above the canvas lets you compare against the original at any moment, and undo has your back if a stroke goes wrong.
Most cleanups take a few passes of the brush. For a clean studio-style shot, you may not need this step at all.
If you find the result is way off from what you wanted (rare but it happens), just upload a different photo or try a slightly different angle of the same product. The AI tends to do better with even lighting and a reasonable contrast between the subject and the background.
Pick a background, or keep it transparent
Transparent is the default, and for most product workflows it is exactly what you want: a PNG you can place anywhere. But if you already know where the photo is headed, the tool can apply the new background for you before you download. The Background section has two tabs: Style covers solid colors (enter an exact hex value to match a marketplace rule or your brand palette) and gradients, and Image takes a scene you provide for fully styled compositions.
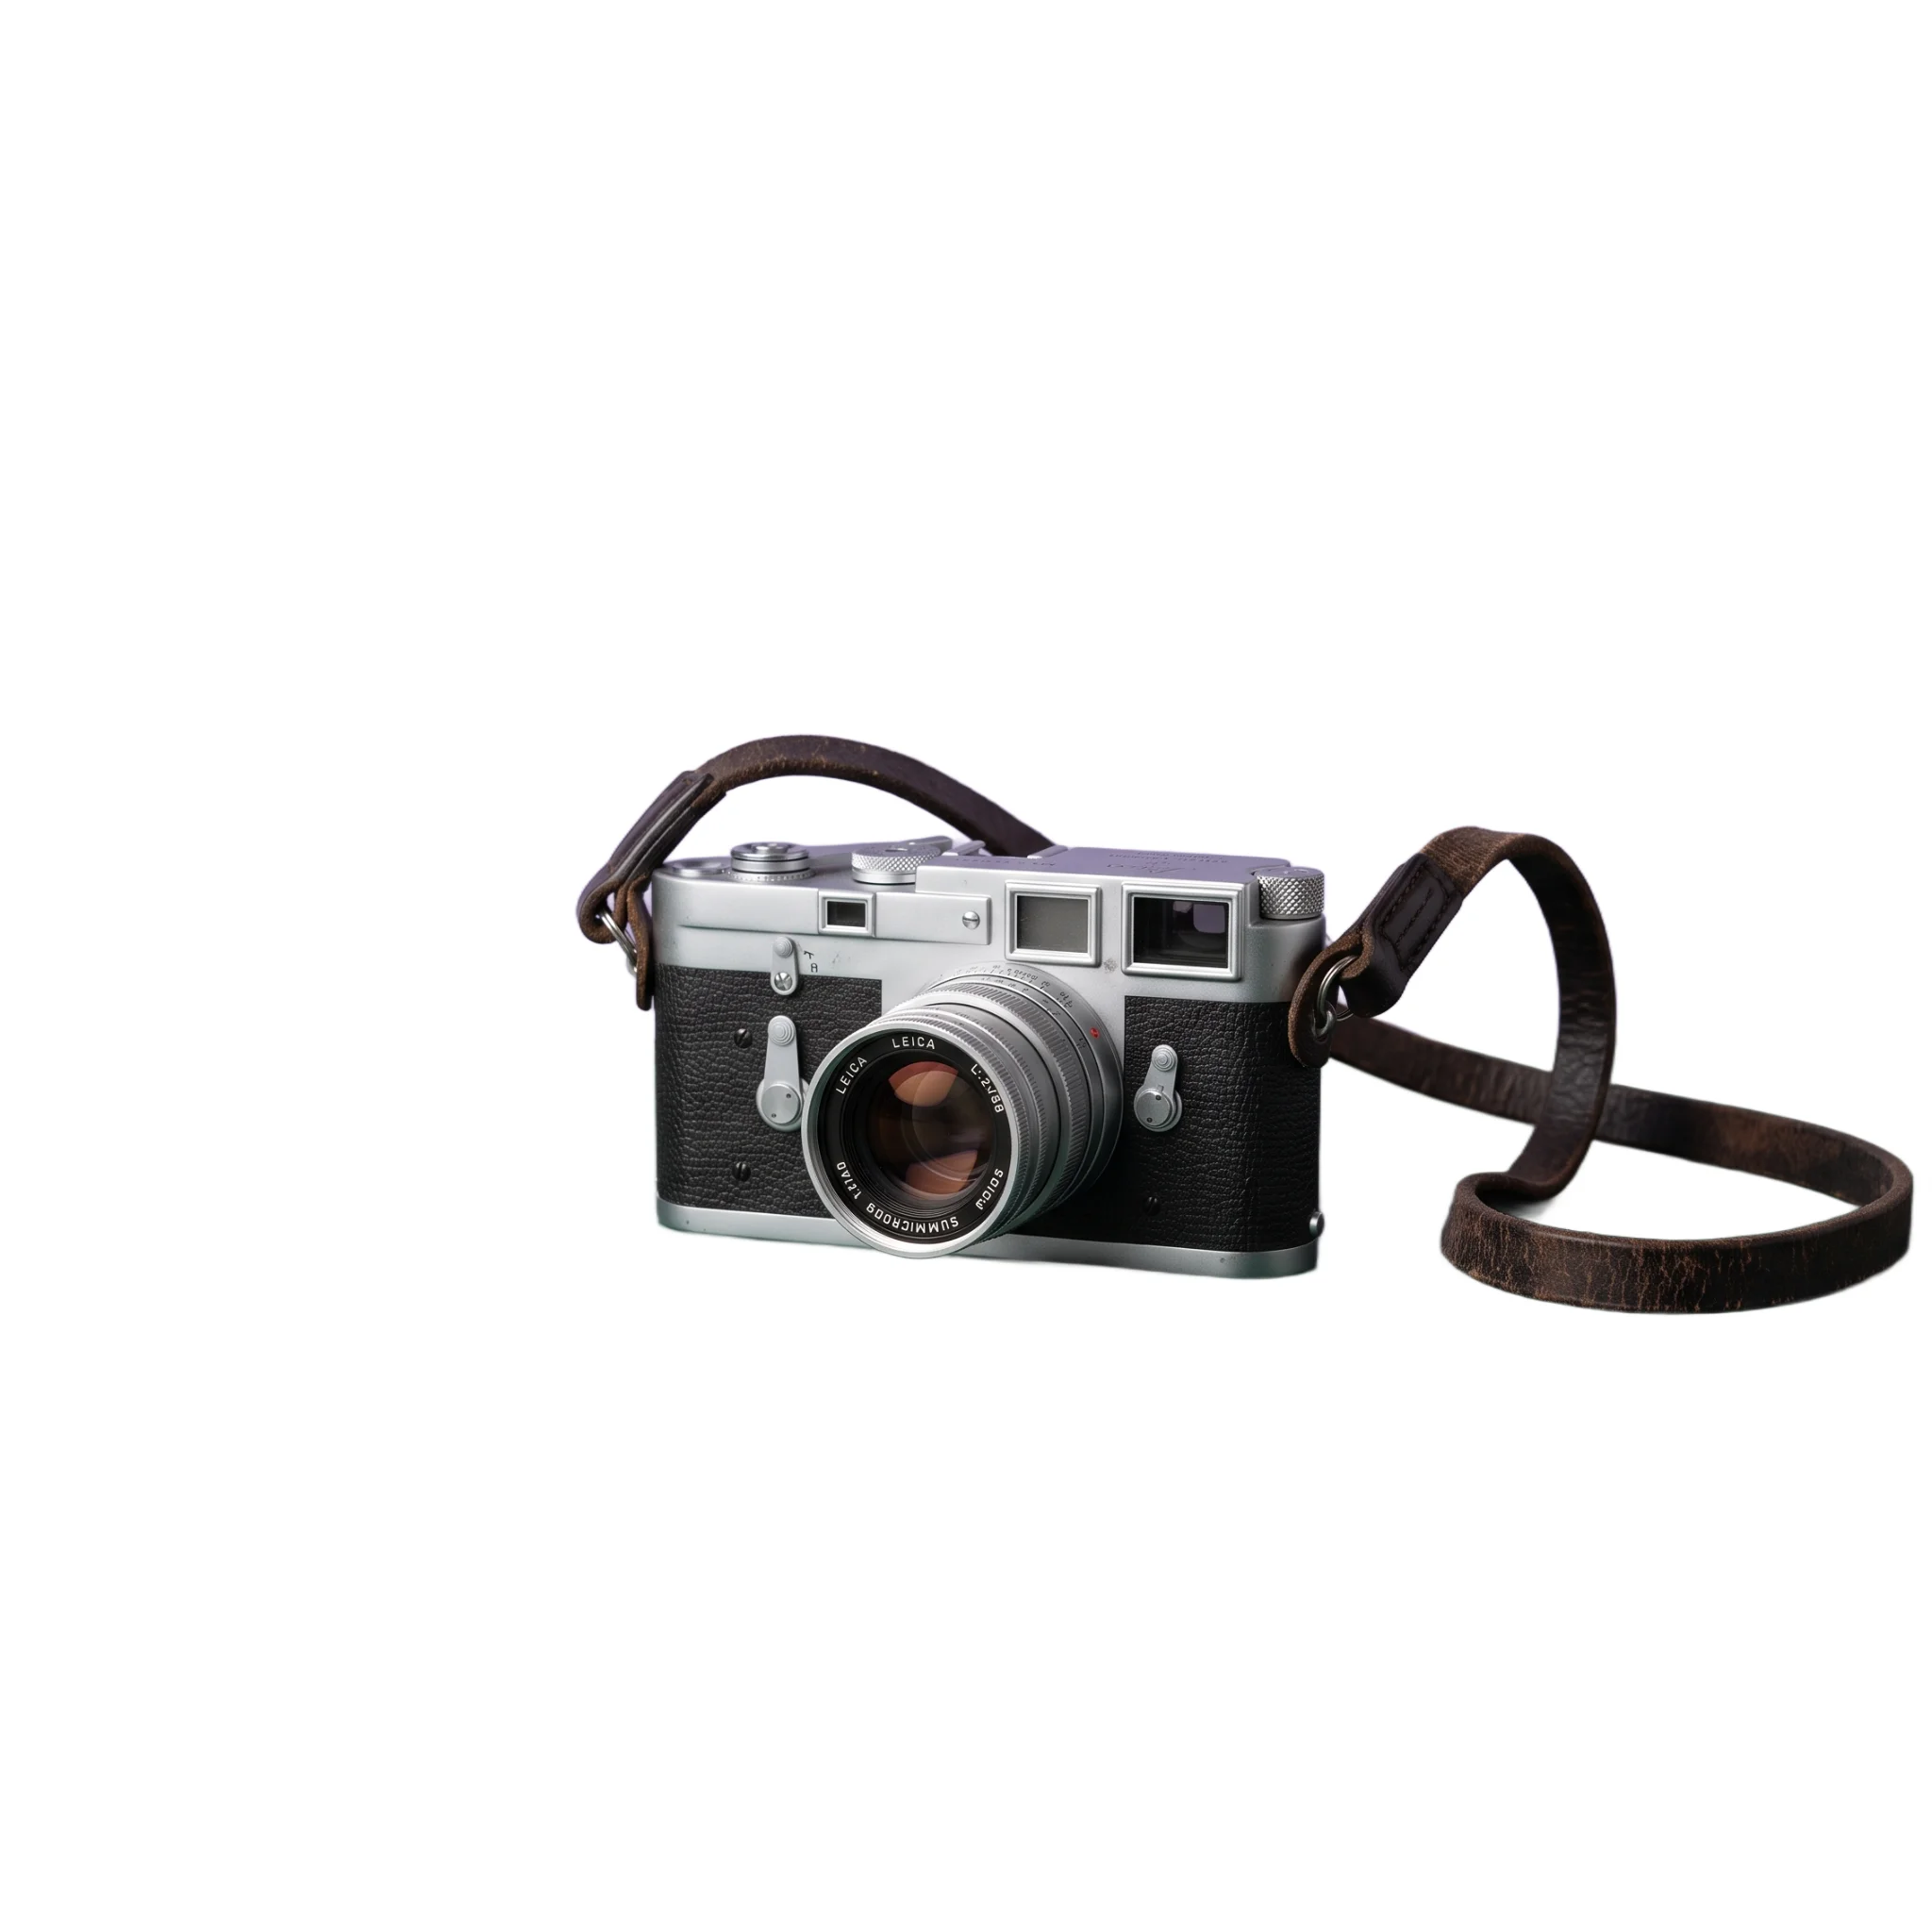
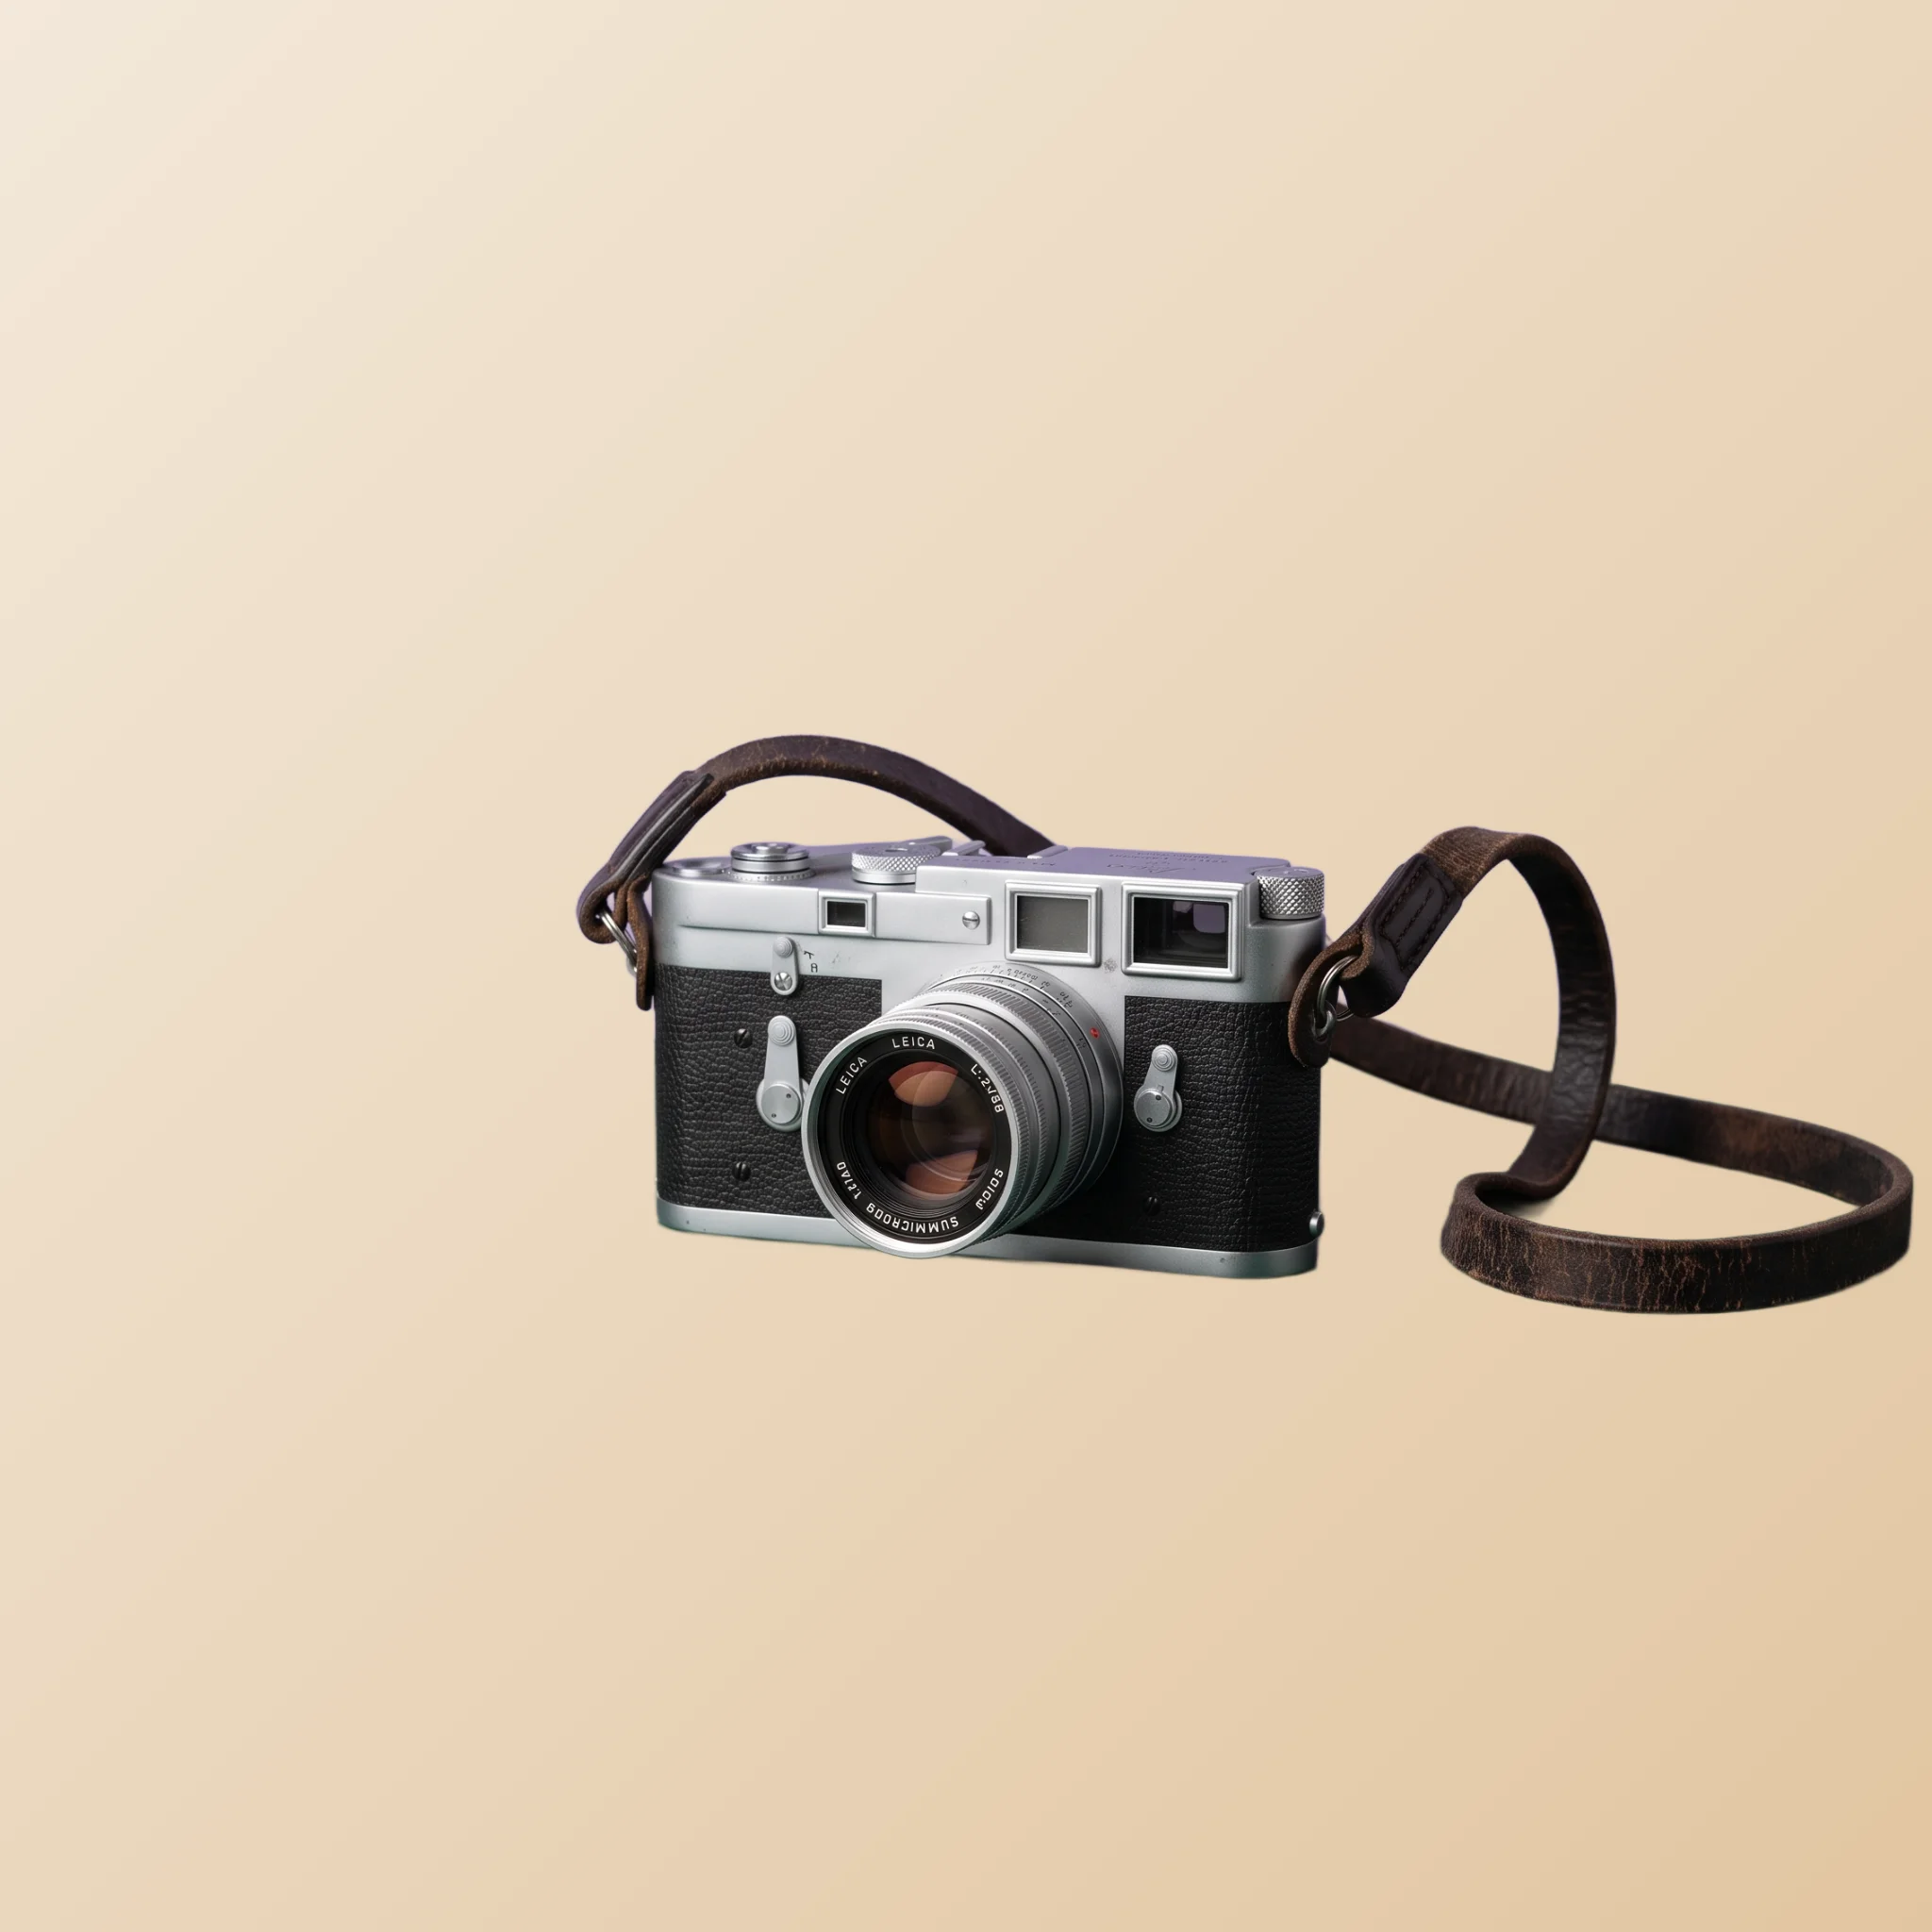
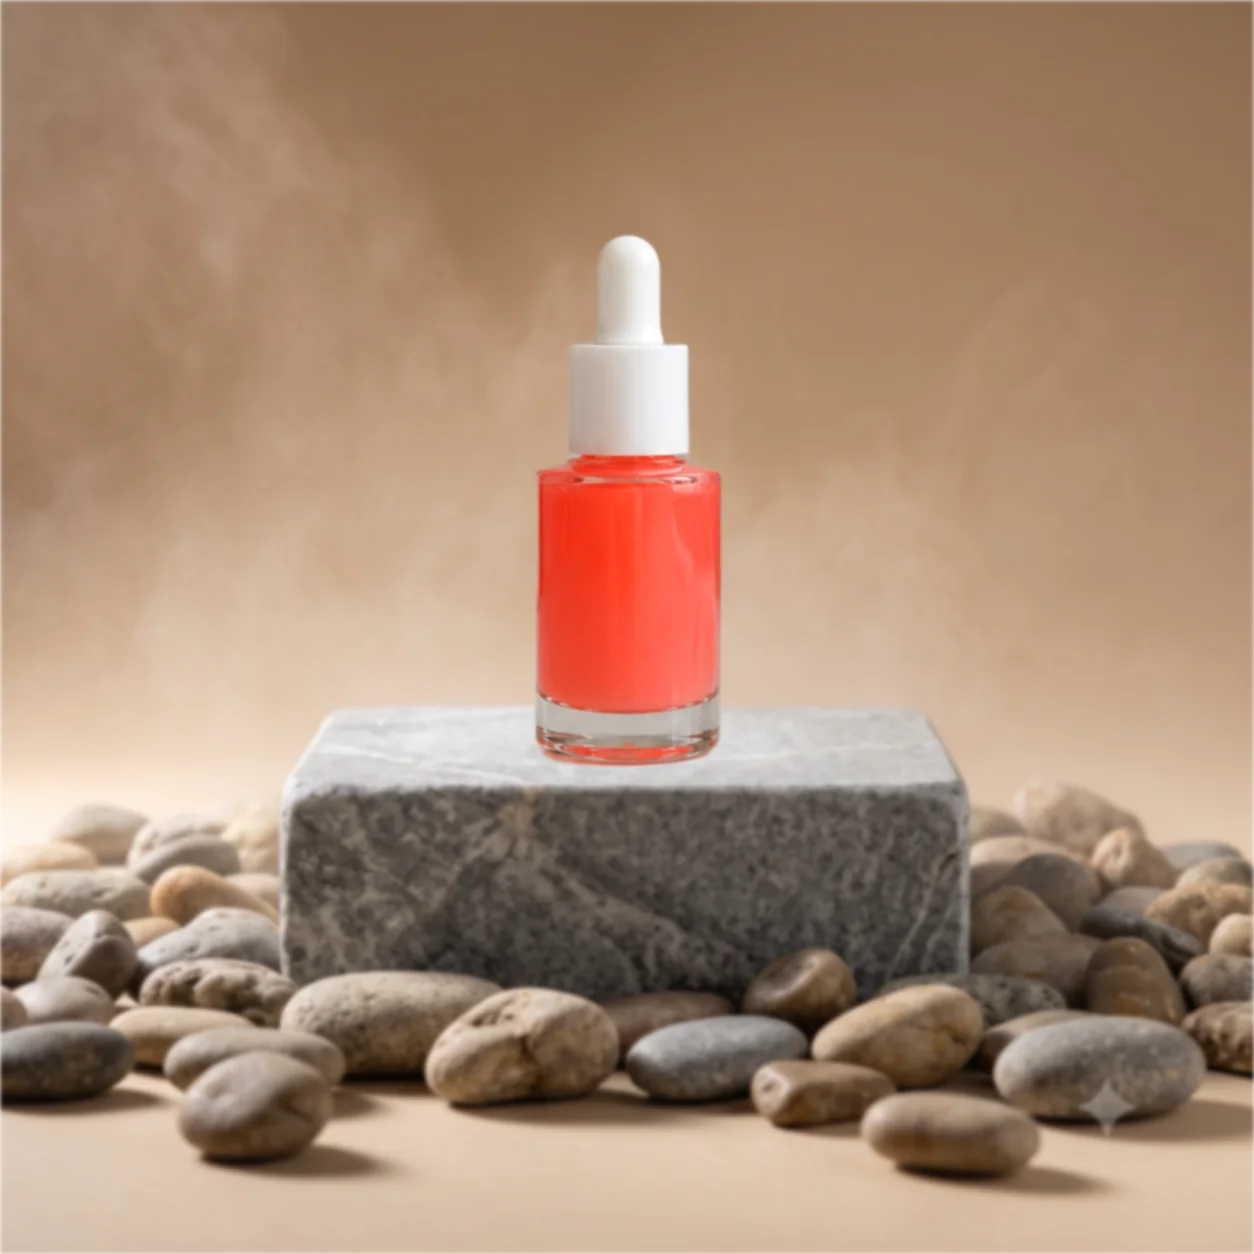
Which background suits which destination is a topic of its own: pure white for marketplaces, styled scenes for Etsy, one locked brand tone for your own store. Our platform-by-platform guide walks through those choices, and the professional headshot guide does the same for portraits.
Download the result
When you're happy with the result, click Download. You get a high-resolution PNG, with the transparency preserved if you kept the transparent backdrop. The file is ready to use anywhere: Shopify, Etsy, Amazon, Instagram, your website, your email signature, your print materials.
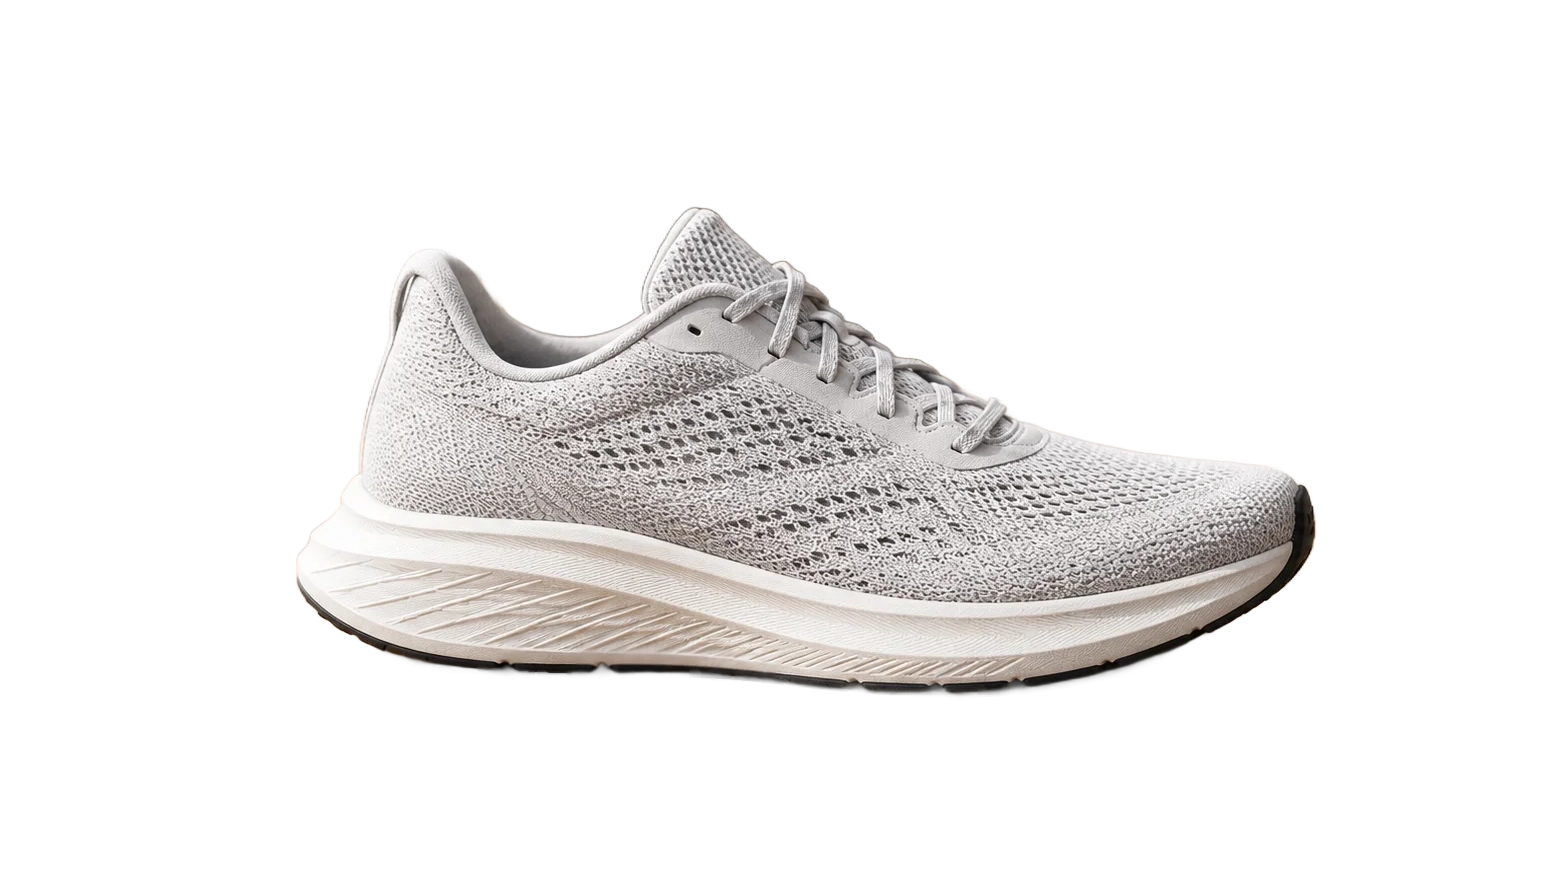
The output is a PNG because that's the only common image format that supports transparency. JPG can't carry transparent pixels; they would come out as solid white. If you need a different format later (for example, a JPG with a white background for Amazon listings), the PictTools Format Converter converts the PNG in a couple of clicks.
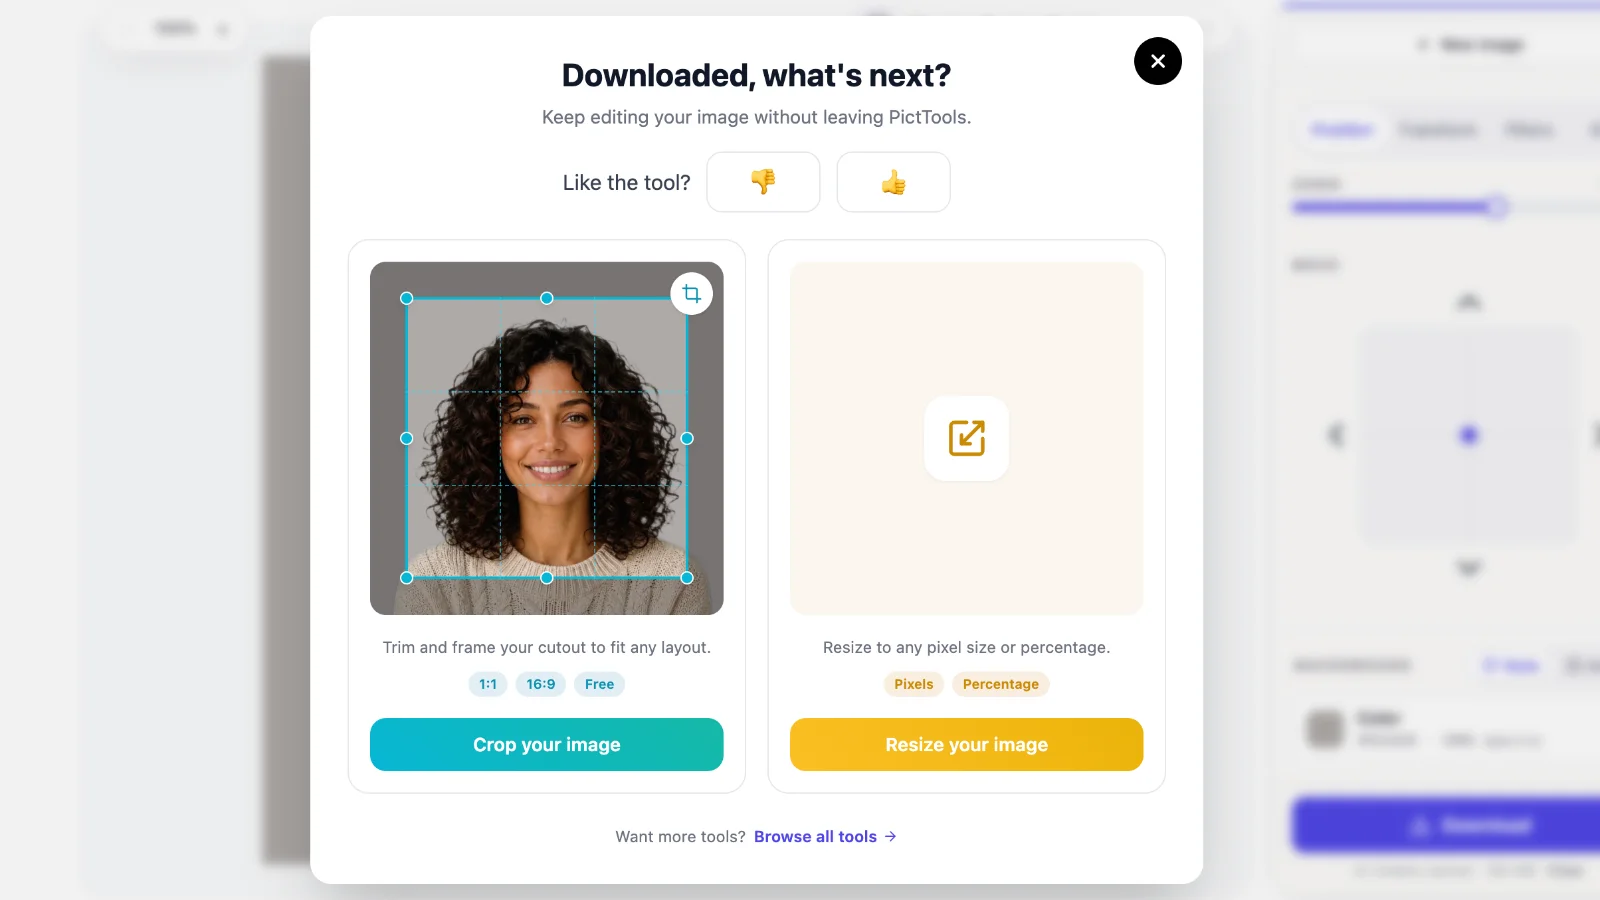
One more helpful touch: right after the download, the tool asks what you want to do next and offers to crop or resize the exported image without leaving PictTools. Handy when a marketplace expects a specific size or ratio.
Tips for the cleanest cutout
The AI does the heavy lifting, but the quality of your source photo dramatically affects the final result. A few simple habits at the photo-taking stage make every cutout sharper.
Light evenly. Even lighting reduces harsh shadows that can confuse the AI on edge detection. A north-facing window during daytime is one of the best light sources you can use, and it's free. If you're shooting indoors with artificial light, use a softbox or a sheet over a window to diffuse it.
Avoid background colors that match the product. A white shoe on a white background is harder to cut than a white shoe on gray. The AI uses color contrast to detect edges, so even a small shift in background tone helps. A neutral gray or muted color works well for most products.
Higher resolution = sharper edges. Photograph at the highest resolution your camera or phone supports. The AI uses every pixel it can, and downscaling a high-res cutout looks much better than upscaling a low-res one.
Reflective surfaces need attention. Glass, polished metal, mirrors, and shiny products may reflect the background, which the AI will sometimes interpret as part of the subject. Use the Refine brush to clean these up, or photograph the product with a polarizing filter to reduce reflections at the source.
Skip extreme angles for hero shots. A straight-on or slightly elevated angle produces cleaner cutouts than tilted, dramatic angles. Save the artistic angles for lifestyle shots, and use clean angles for your primary product photo.
Hair, fur, and fuzzy edges. These are the hardest test for any background remover. The AI handles them well in most cases, but you'll get the best result with a smooth, non-textured background behind the subject. If you have a model with curly hair, photographing against a solid wall produces better cutouts than a busy outdoor scene.
Common use cases
Once you have a transparent PNG, you have endless options for how to use it. Here are the most common ones for e-commerce sellers.
Shopify and WooCommerce listings. Drop your product onto a consistent background (pure white, a brand color, or a soft gradient) so all your listings look uniform across the shop. Our Shopify catalog guide covers the full consistency system.
Etsy listings. A shop where every listing uses the same background style looks more professional and builds buyer trust. Many top Etsy sellers use warm or soft pastel backgrounds across their entire shop. Our Etsy guide goes deep on styled backgrounds by category.
Amazon listings. Amazon's policy requires the main product image to have a pure white background. The cutout makes this trivial: drop the transparent PNG onto a white canvas, save as JPG, and upload. The Image Color Changer tool can swap any background color if you need other variants.
Social media graphics. Place your product on Instagram Story templates, TikTok thumbnails, Pinterest pins, or Facebook ads. Transparent PNGs let you composite the product with any graphic design without rebuilding the layout from scratch.
Email marketing. Cleaner product images mean smaller file sizes and faster-loading emails. A transparent PNG compressed lightly with the Image Compressor loads in a fraction of the time of the full original shot.
Print materials. Catalogs, postcards, packaging are places where you'd traditionally pay a designer to “cut out” your product. Now you have a free DIY option. Just make sure the source photo is high resolution if you're printing.
Lifestyle composites. Drop your product into a lifestyle scene without re-shooting. Pair the cutout with a stock photo of a kitchen, a beach, an office, or wherever your product would naturally appear. This is one of the highest-ROI uses of background removal for small brands.